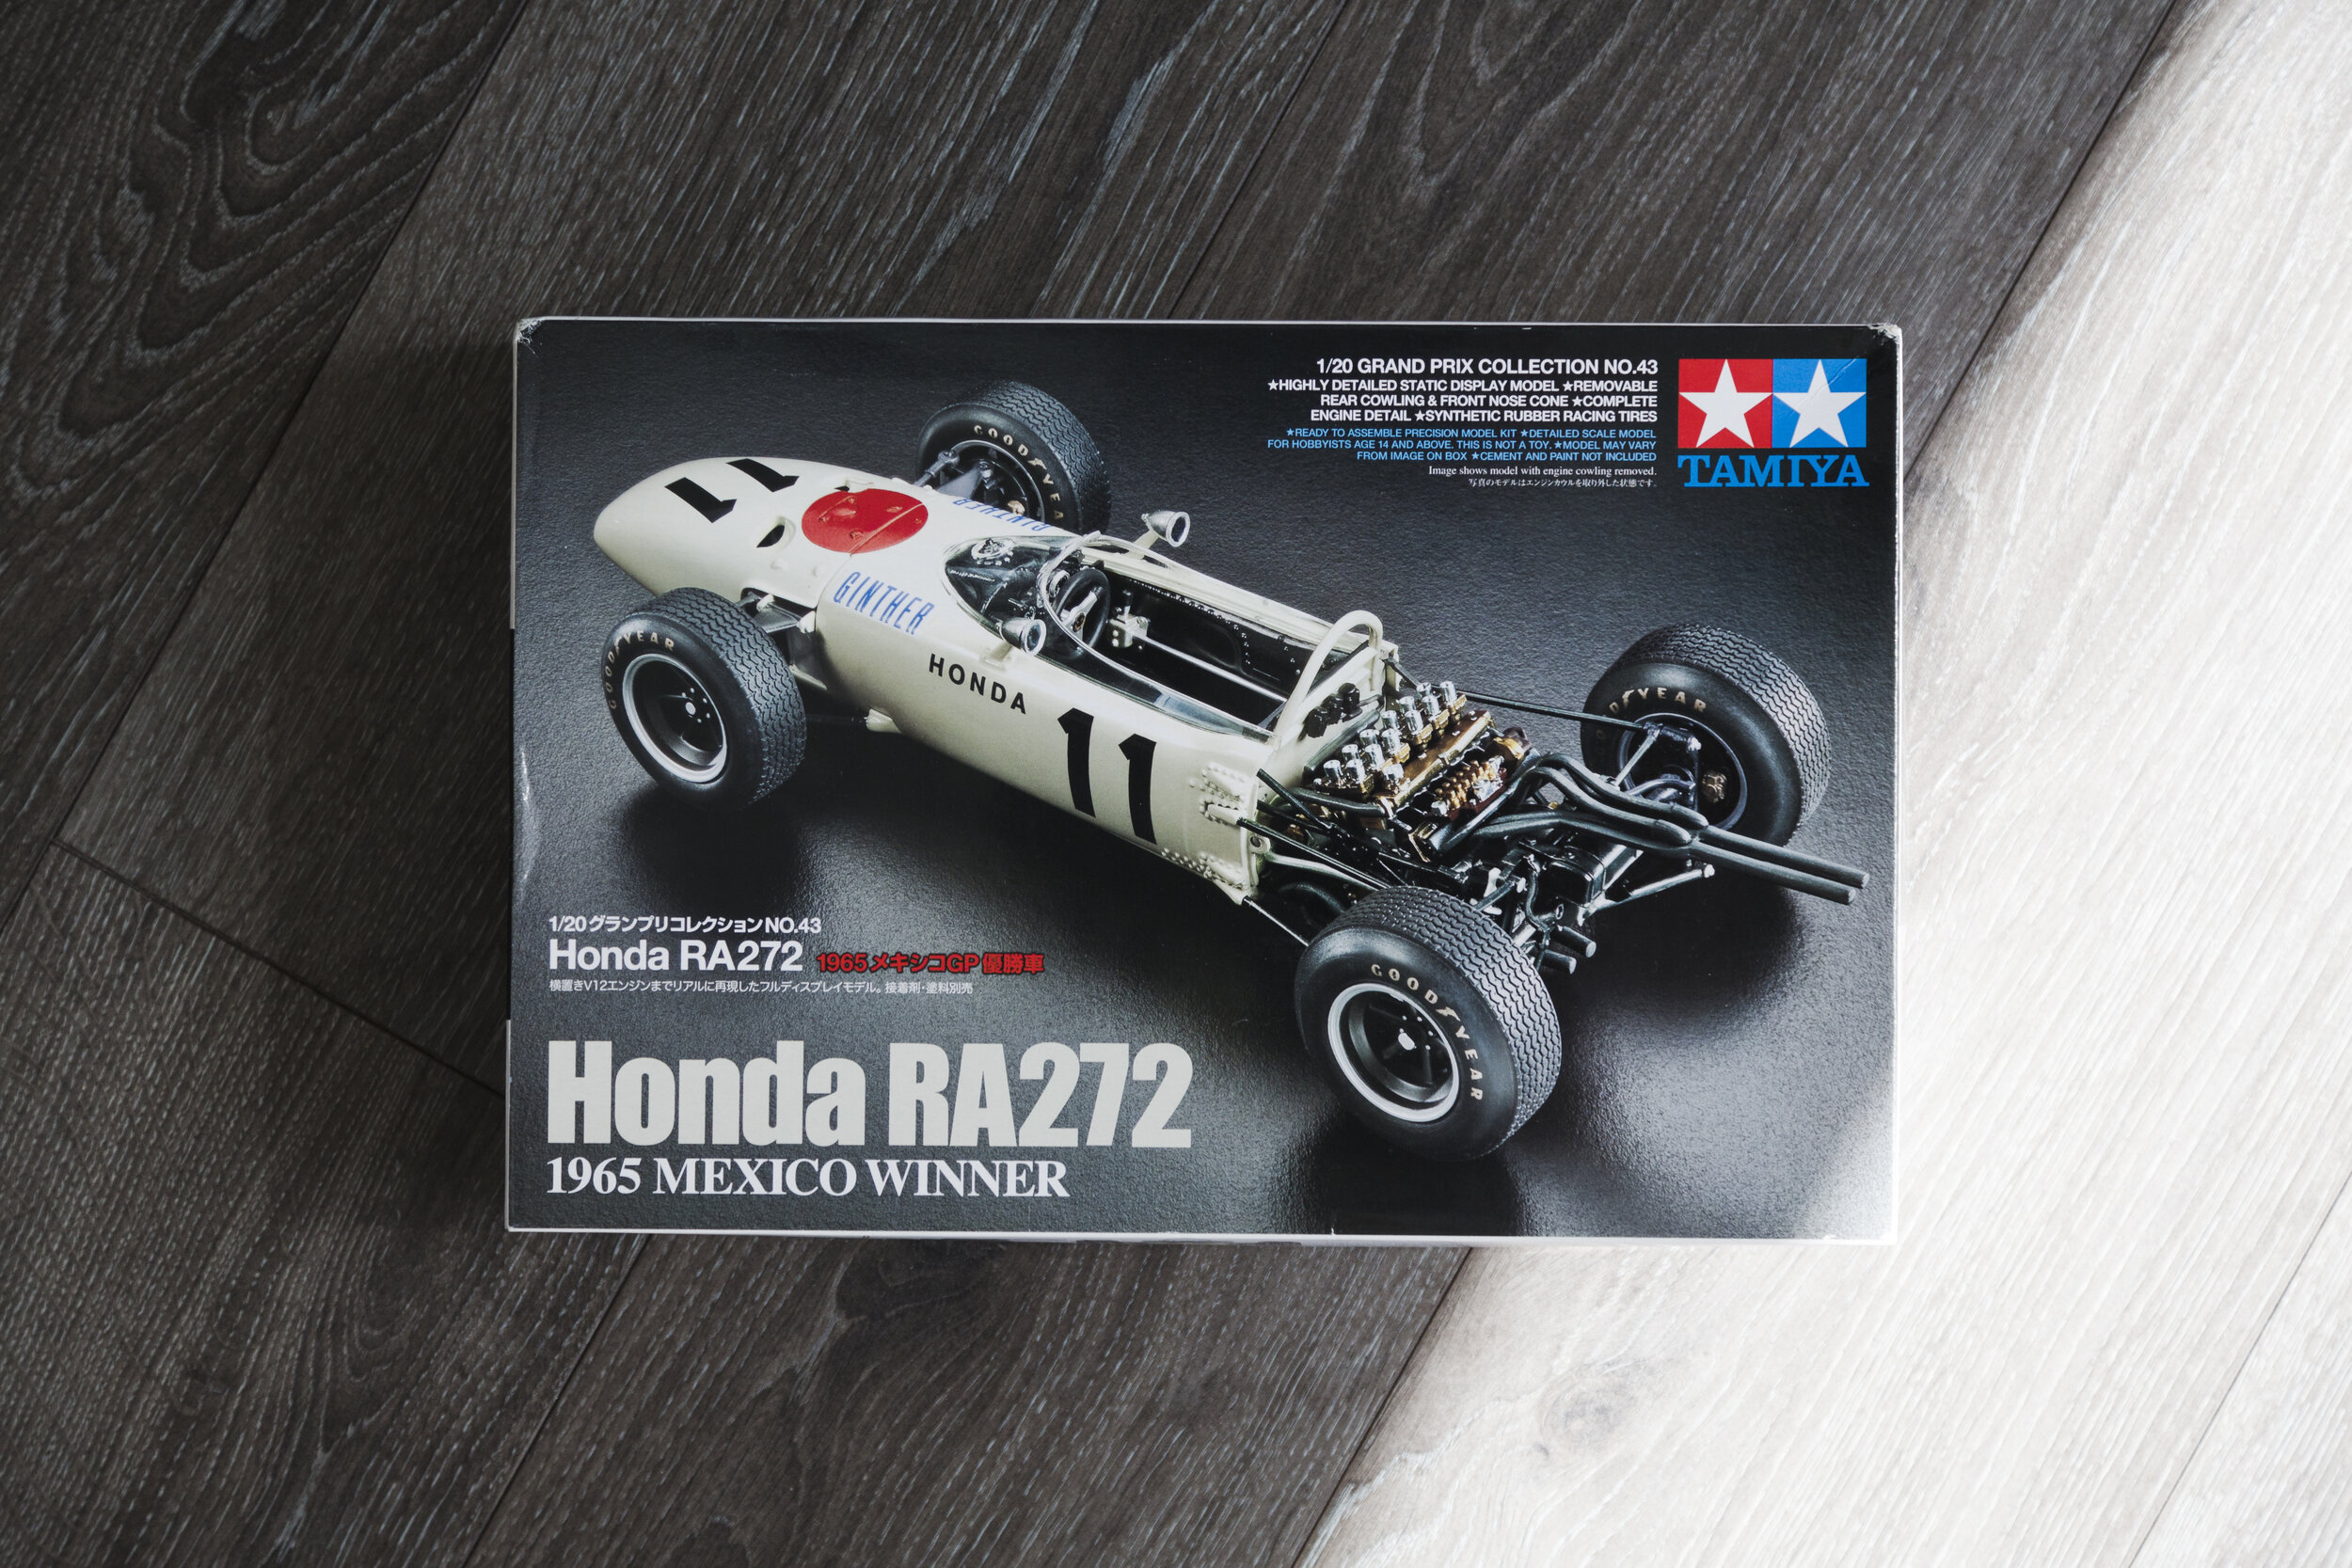
Tamiya 1/20 Honda RA272 Build
Tamiya 1/20 plastic kit.
This build was my third completed model kit which spanned 12 days in November 2018. I have reposted the original WIP thread here.
The build is OOB apart from ignition wiring and fuel lines. There are so many opportunities to elevate this kit since wires can run freely through the car with little modification. I was originally planning on adding more wiring and plumbing throughout the chassis but I opted to finish the build quicker instead. Aftermarket accessories are pretty much limited to Acu-Stion offerings which are hard to get an expensive, but their vac-formed windscreen and turned velocity stacks would really enhance the model. I would also opt to cut-out and rebuild the front suspension if I were to do a more detailed build on this, since the front-suspension is pretty much moulded as one piece.
I started by drilling out the exhaust pipes and holes for fuel lines with a pin vise.
The only other modification I made was on the rear suspension arms. I cut off the attachment points that need to be painted body coloured, and pinned them instead.
Engine after Alclad paints applied:
To heat-stain the exhaust, I gave it a black base, then applied a coat of ALC aluminum. I then applied ALC pale gold to some areas, and then built up very light coats of matte black on top. This photo is before the matte black coats.
I bought a Molotow 1mm Liquid Chrome pen for this build - people aren't exaggerating when they talk about this stuff, it actually is like magic. I did learn the hard way that it is quite delicate though, and requires a pretty significant curing time. My mistake was applying chrome to the wheels before installing the tires. I smudged the finish and had to touch up afterwards, but the touch-up didn't look nearly as perfect. You can see some of those areas in the final pictures below.
Liquid Chrome is also ruined by decal solutions, so this steering wheel chrome had to be re-done after I applied the Honda logo to it.
Here is the hand painted the distributor.
Wiring the engine up. My references were mostly other peoples' builds so I don't expect it to be very accurate.
Next step was to apply decals and clear.
My favourite thing about this kit: only simple masking required.
Pin the mirrors if you want a mess-free mirror installation:
Now just to finish the front end by detailing the radiator area by hand painting the support and suspension arms, as well as fluid jars.
And that’s about it! Click the image below to view a gallery of the completed build.


